I've been working on some big poem illustrations. When I started one of a big English garden, I thought maybe if I go back to good old-fashioned drawing with real pencil, this will go faster. I got as far as drawing the big violet when I realized that was a dumb idea. It was messier, it was going to take extra time to scan everything, piece it all together, deal with the multiple layers, clean it up, etc. etc. So I went back to my tried and true Photoshop brushes.
Here is my Brush palette. I use the basic default brushes that come in Photoshop with a little adjustment. I've never been very fancy with experimenting with lots of brushes.
A good tip: use the bracket keys [ ] to increase/decrease brush size. Also, you can right+click on the screen for the brush palette to pop up. Both efficient space saving tips I never use because I am stuck in my ways.
These are the spatter brushes that come in Photoshop. They are my favorite. I use them with their default setting to do a lot of shading. It adds a little more texture than just using the smooth airbrush brushes. I usually set them at 20% or 30% opacity (you can use the numbers on your keyboard to change brush opacity). Then I use the eyedropper tool (ALT to toggle from the brush tool) and pick neighboring colors constantly to blend them together.
To draw my lines, I still use the spatter brushes, I just adjust the angle. In the Brush palette, click on Shape Dynamics and drag the Angle Jitter all the way to 100%. It gives you a nice more pencilly-textured brush. All those yellow-highlighted brushes above are just variations of this same brush in different sizes or with variation of spacing and angle jitter.
Here is where you adjust the spacing. More spacing makes a rougher brush. (Above is pre-angles adjustment.)
This is maybe too much spacing. But if you grab a normal round brush and increase the spacing like that, you've got yourself a lovely dotted line to draw with. Fun to use that with the Paths trick I explain below.
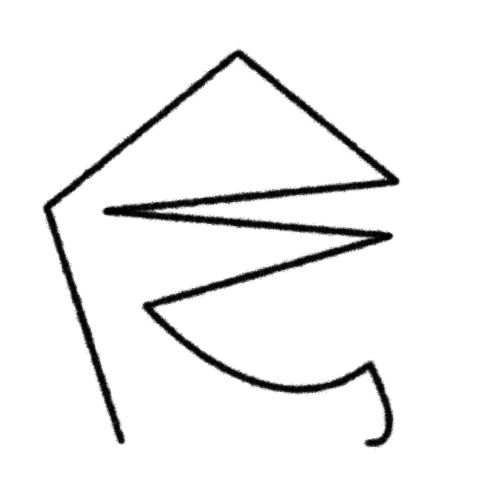
Here is the actual pencil drawing from the photo at the top. I was using a cheap
mechanical pencil because I couldn't find anything else. It looks fine,
and I'm sure if I had more time it would be a better more organic
looking illustration if I kept with the draw and scan it method. But
time is always limited, and the Photoshop version will work for what I
need.
Here is the sketch done with one of my modified spatter brushes. Looks pretty close to the pencil drawing above.
But I get all control freakish and have to have tidy lines. Here is the cleaned up line drawn in Photoshop.
Once I've got the flat colors filled in, I do a quick shade with a big airbrush to start getting the colors set.
One the right flower petals, I did a little shading with the default spatter brush. There is a little more texture to the brush strokes.
Here's the finished shading and cleaned up lines. Sometimes if I want to smooth the shading some more without using the airbrush tool, I will use the finger smear tool with a spatter brush selected and smooth out some streaks.
Because this is for a poster, it's pretty huge. So here is a close-up so you can see there is still some texture to the lines. There are also some texture layers to lessen the air brushiness, but I left them off for the sake of the tutorial.
And finally, a cool little trick with Paths if you are drawing straight lines.
First step, make sure you have the brush and color you want already
chosen. Also, make sure the fill is turned off. I don't know what those
icons in the top toolbar are called. Just look at the picture. :)
Then draw your shape with the pen tool. Go to the Paths menu and choose Stroke Path... I usually do not use the simulate pressure option, click OK.
Et viola! Your pen tool drawing has your brush texture applied. Makes drawing straight lines and smooth curves so much easier.


4 comments:
Very useful blog. Keep up the good work.
WOW
WOW
WOW
Post a Comment